Once you pass your Intermediate (Verified) level verification, you will be able to create API keys.
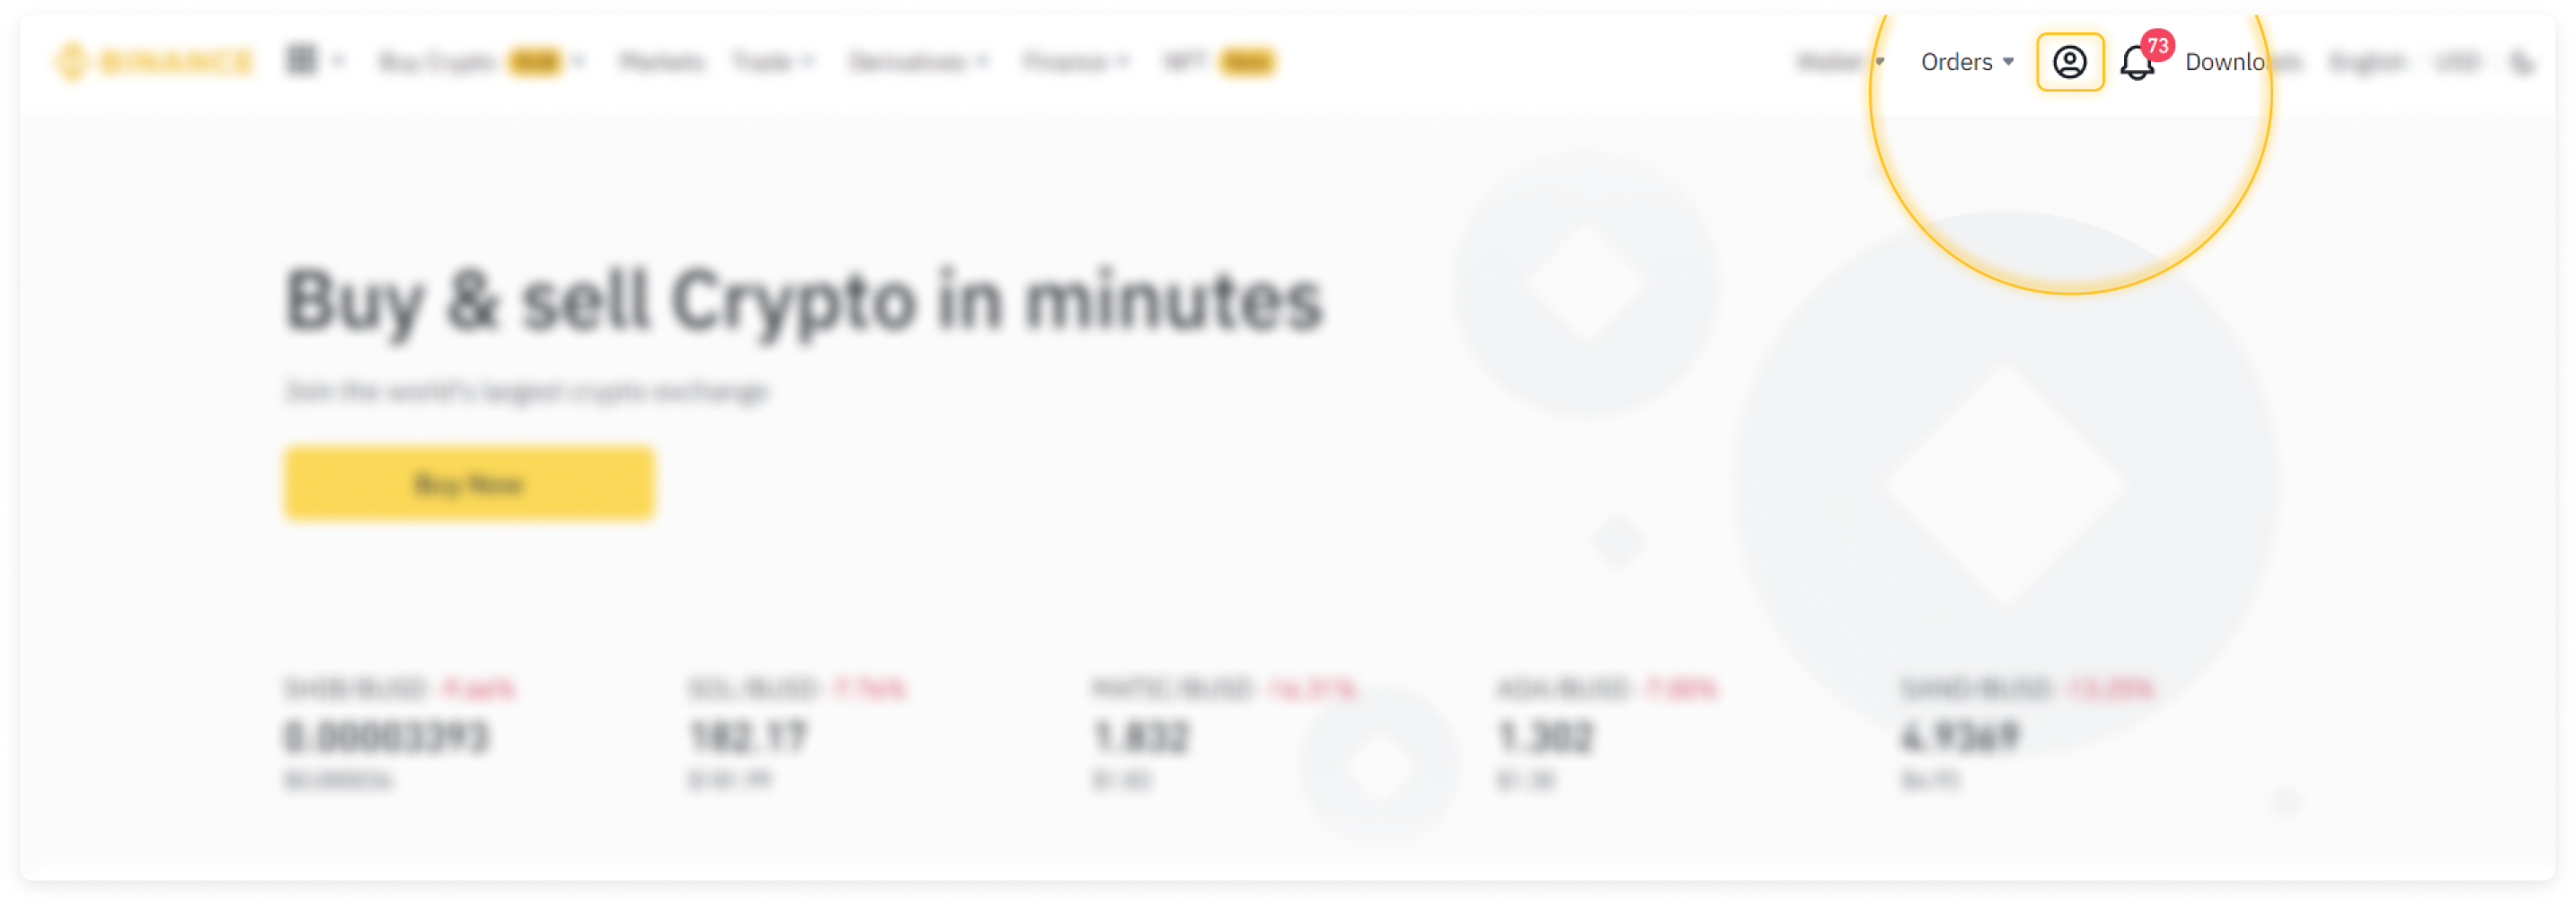
Select the profile icon to access the Toolbar.
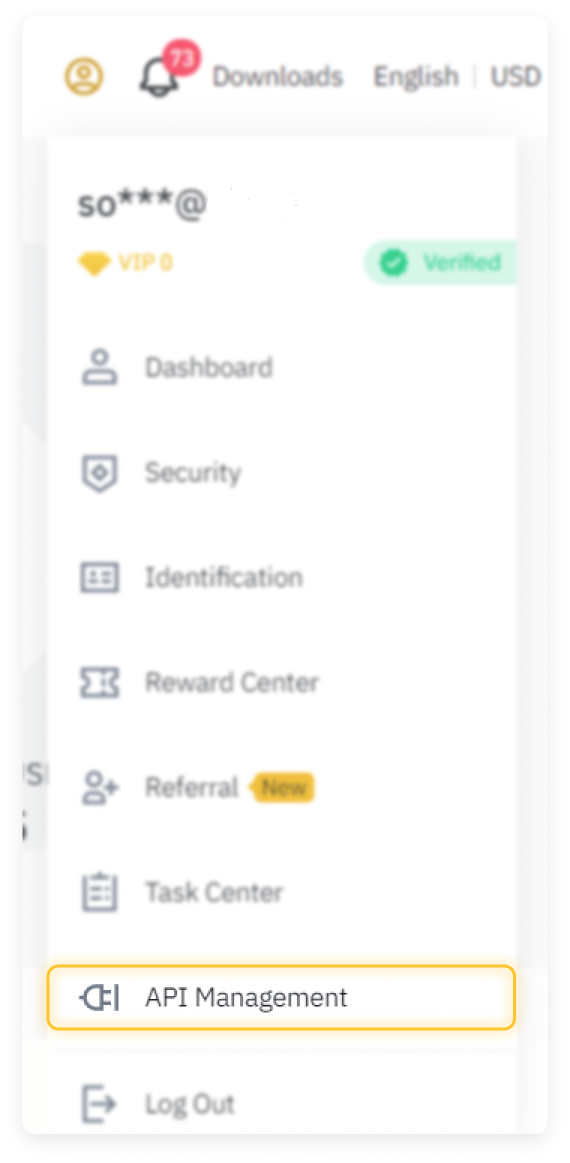
At the bottom of the list, select API Management.
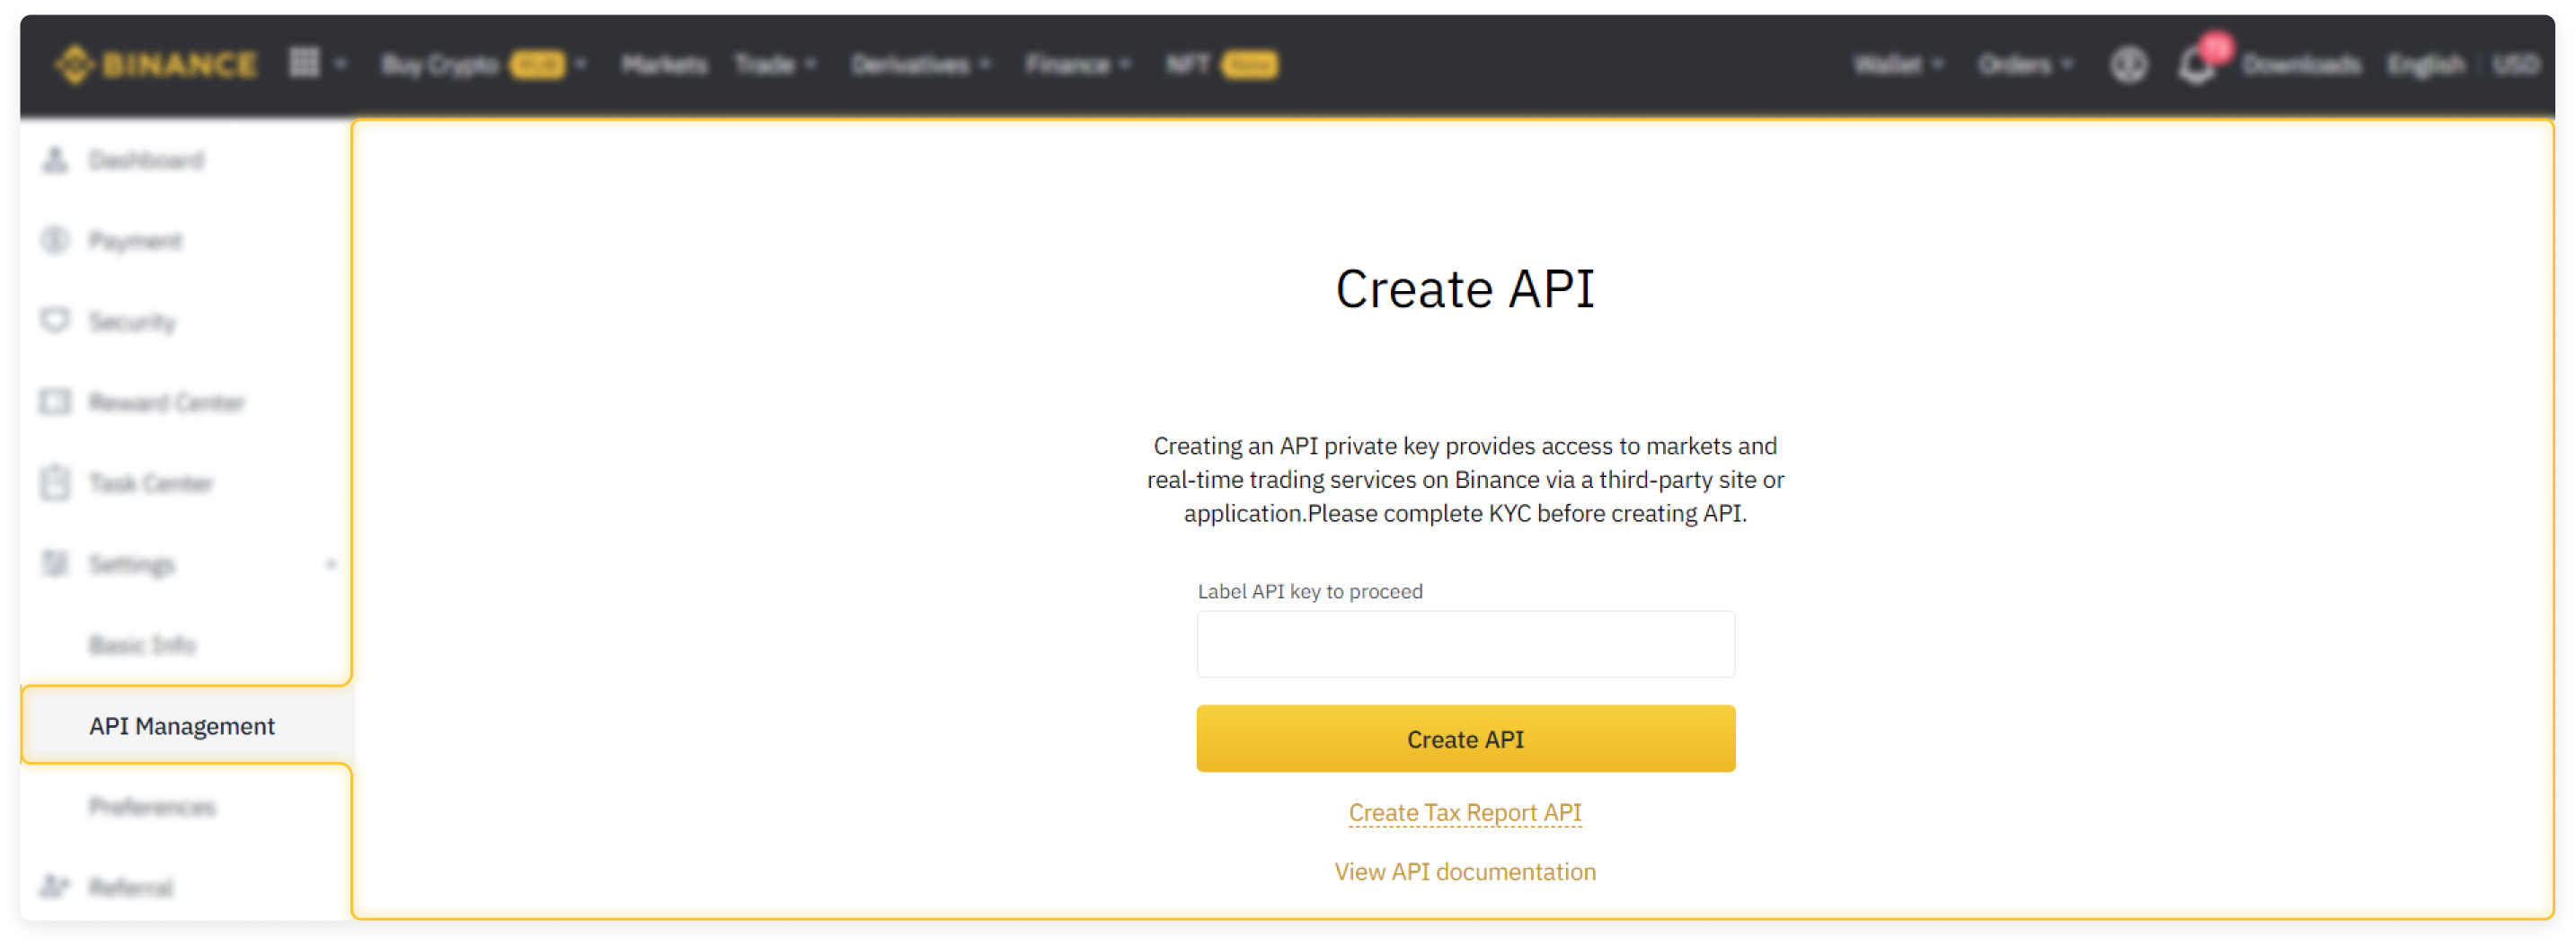
The API Management page opens.
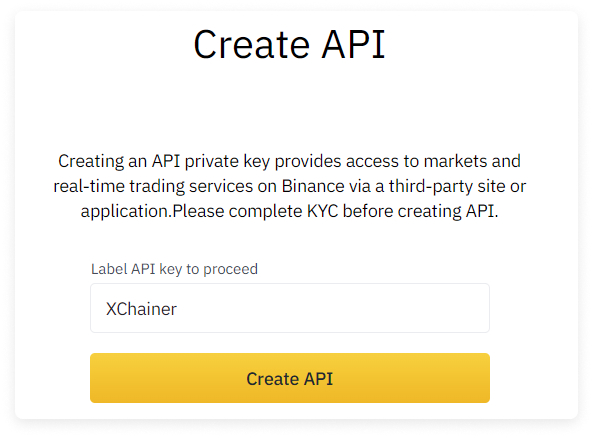
Create a label (nickname) for the key that describes how it will be used. For example, XChainer. Click Create API.
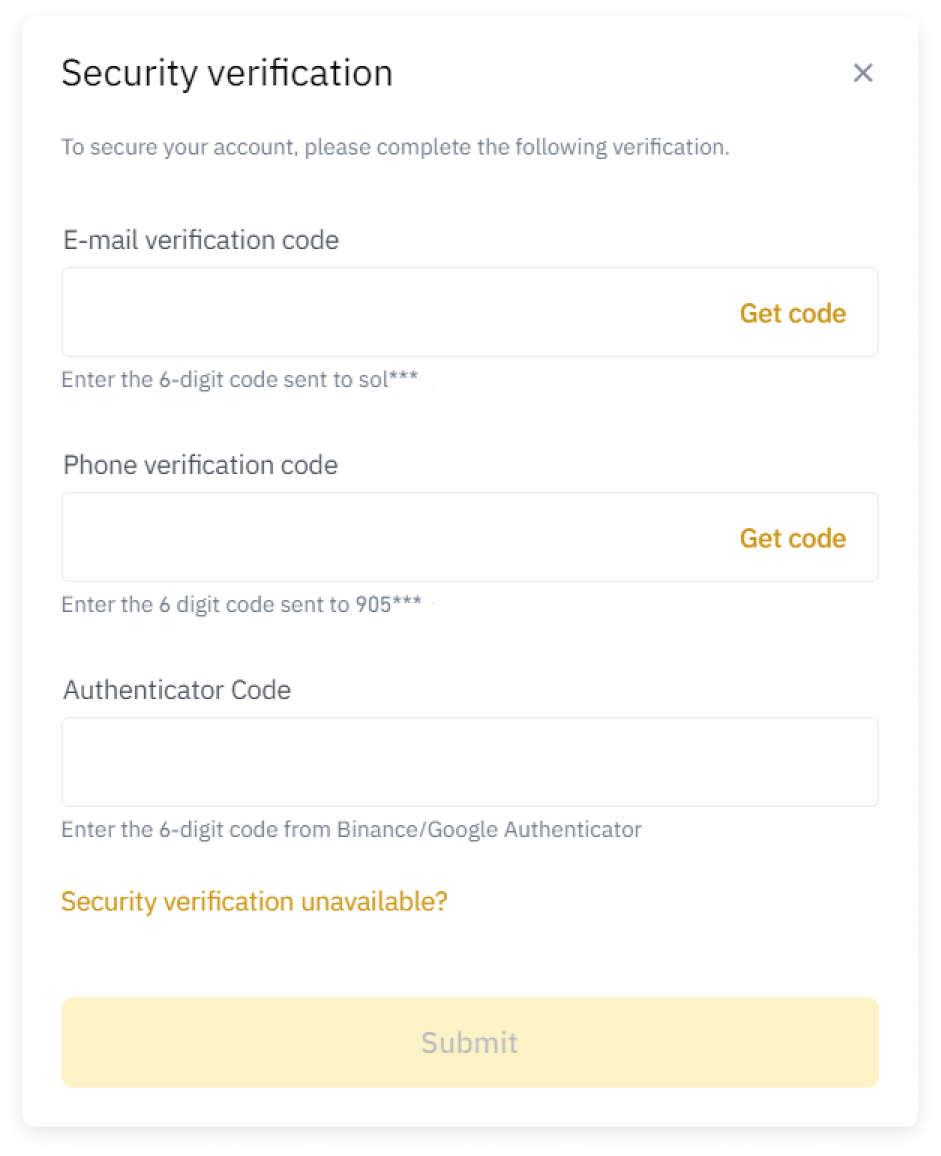
The Security Verification window appears. If you have not yet linked a mobile phone number or e-mail address to your Binance account, then this window may look different for you.
For greater account security, we recommend enabling the sending of codes via SMS and e-mail.
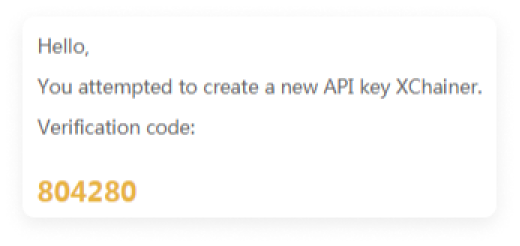
Example of a code that is received by e-mail.
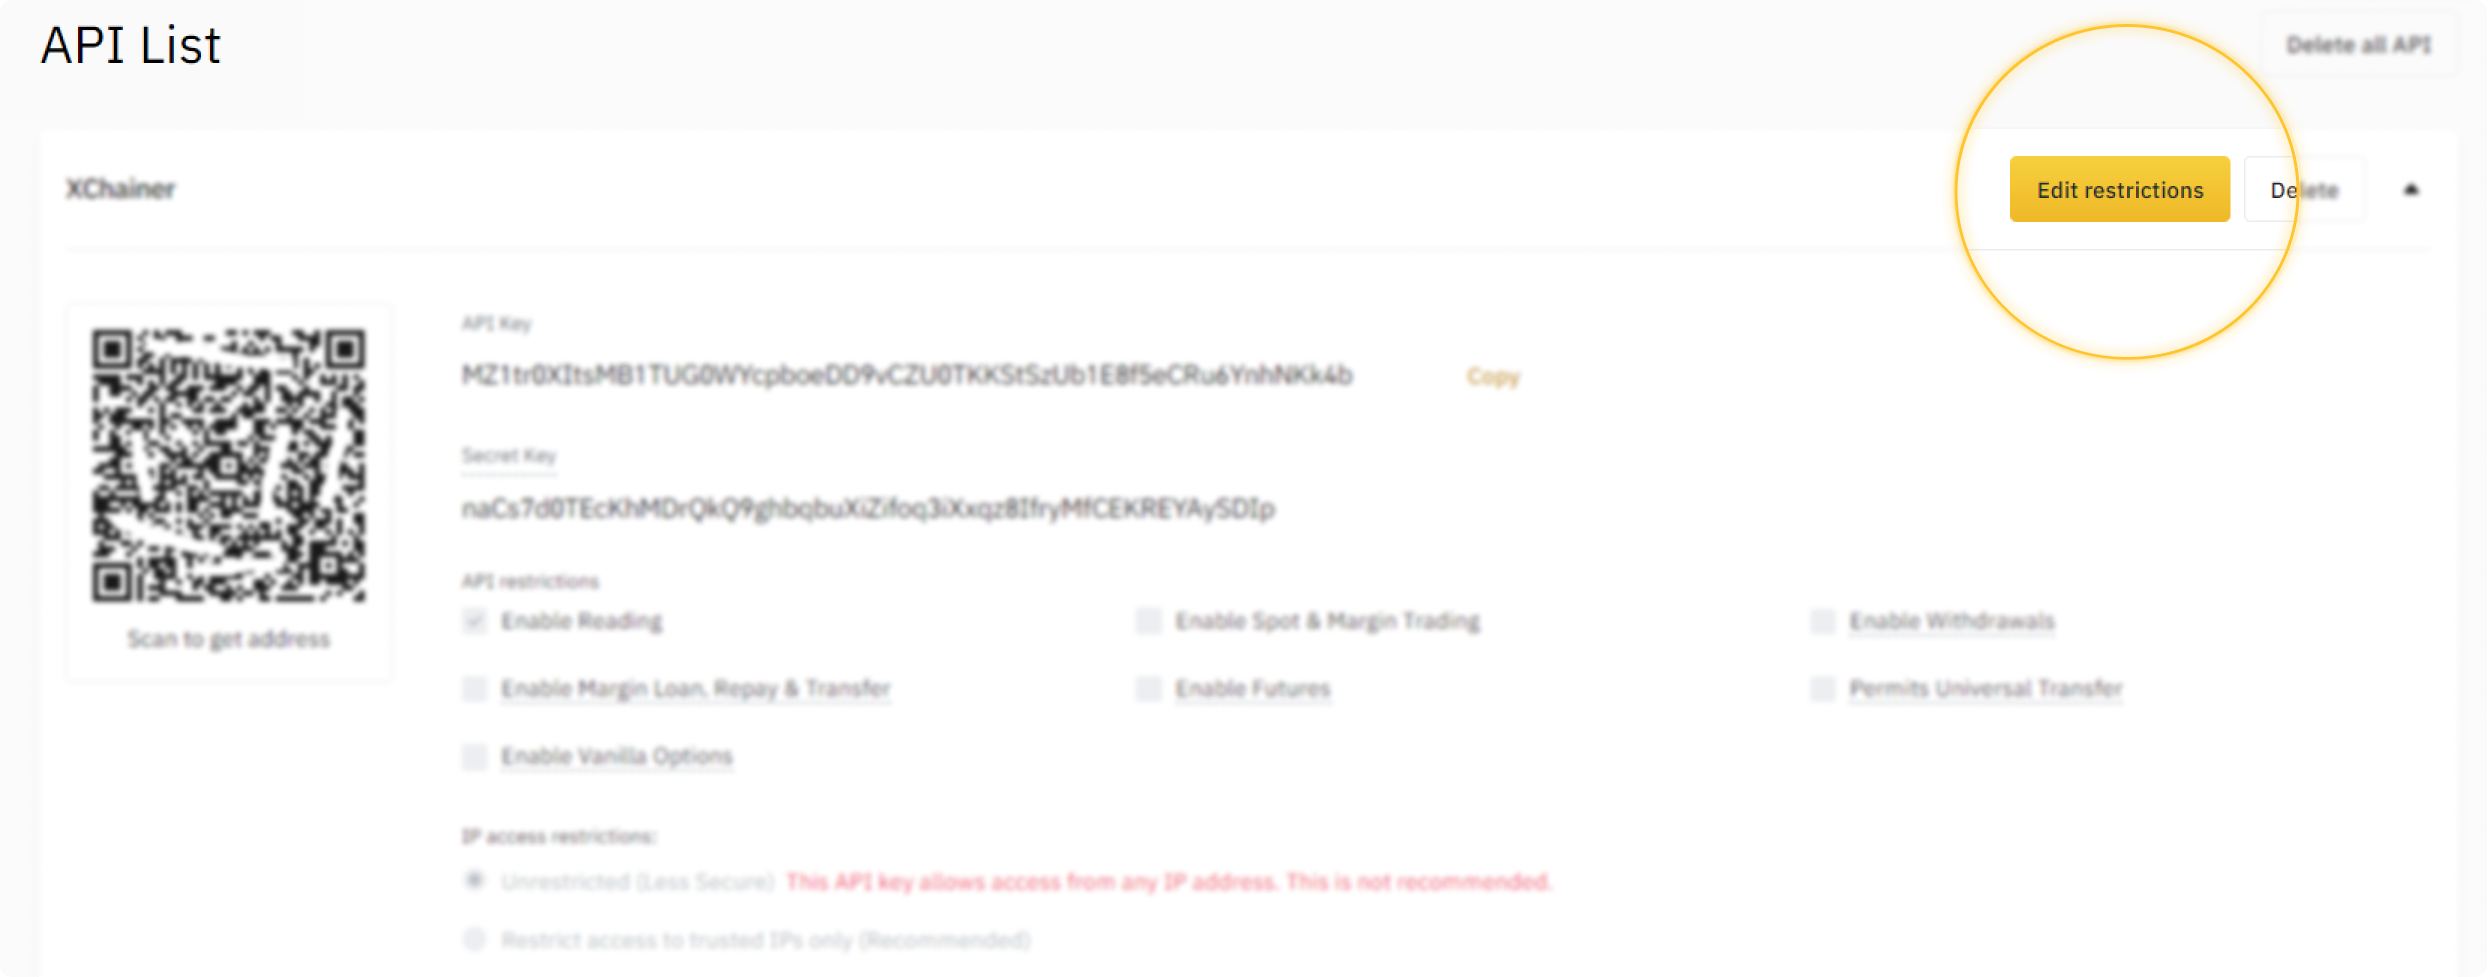
After the security verification is complete, the API Manager will open. Here you must impose certain restrictions.
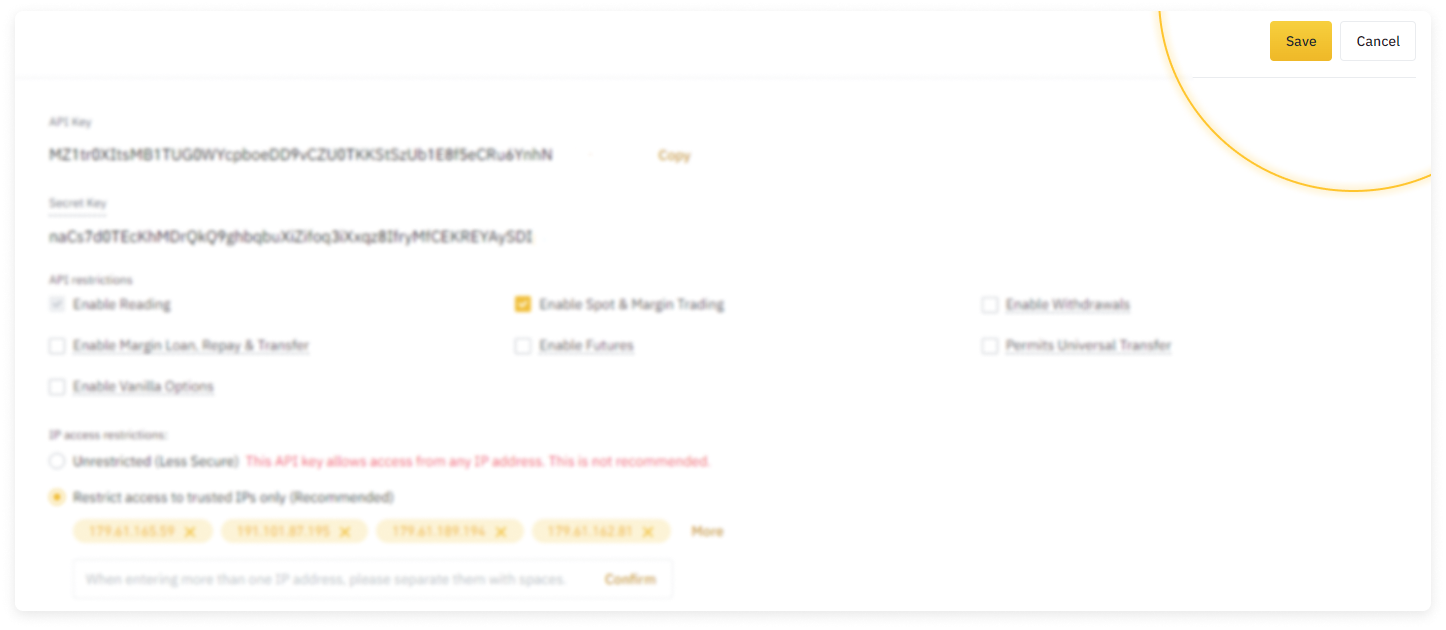
Select Edit restrictions.
The Enable Reading checkbox is checked by default.
Check the box Enable spot and margin trading.
Please note: You should leave all other boxes unchecked for security reasons.
In the IP Access Restrictions section, check the box “Restrict access to trusted IPs only (Recommended)”
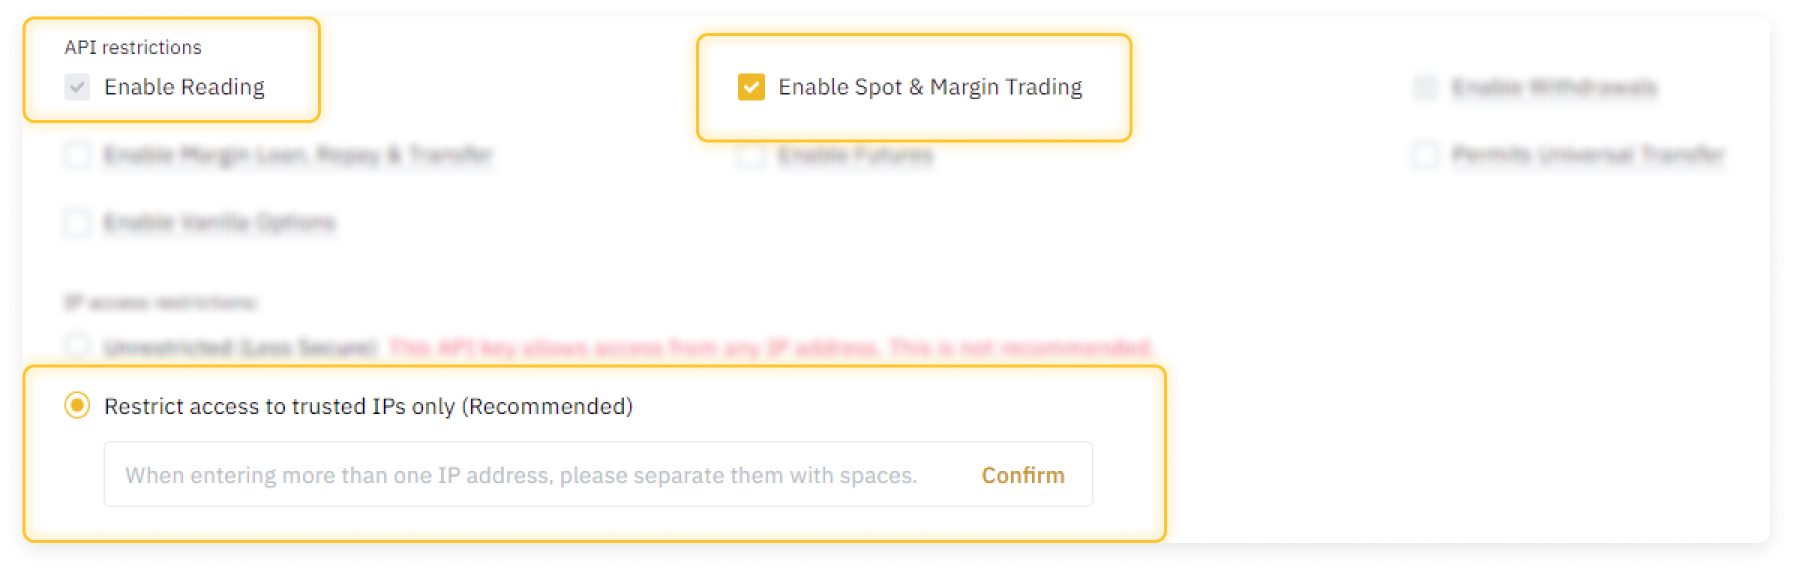
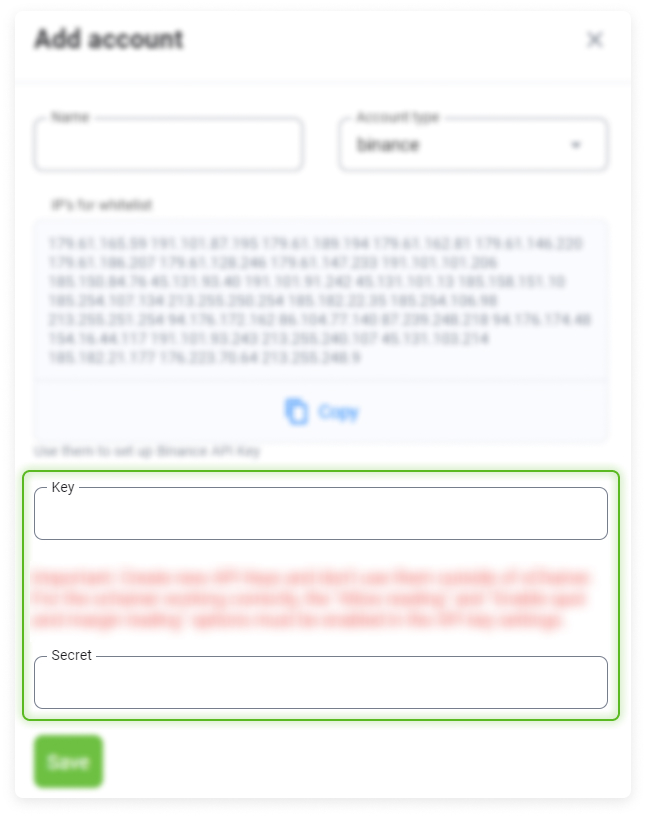
In this field, you need to paste the copied Whitelist of addresses, which you will receive when adding your account to XChainer.
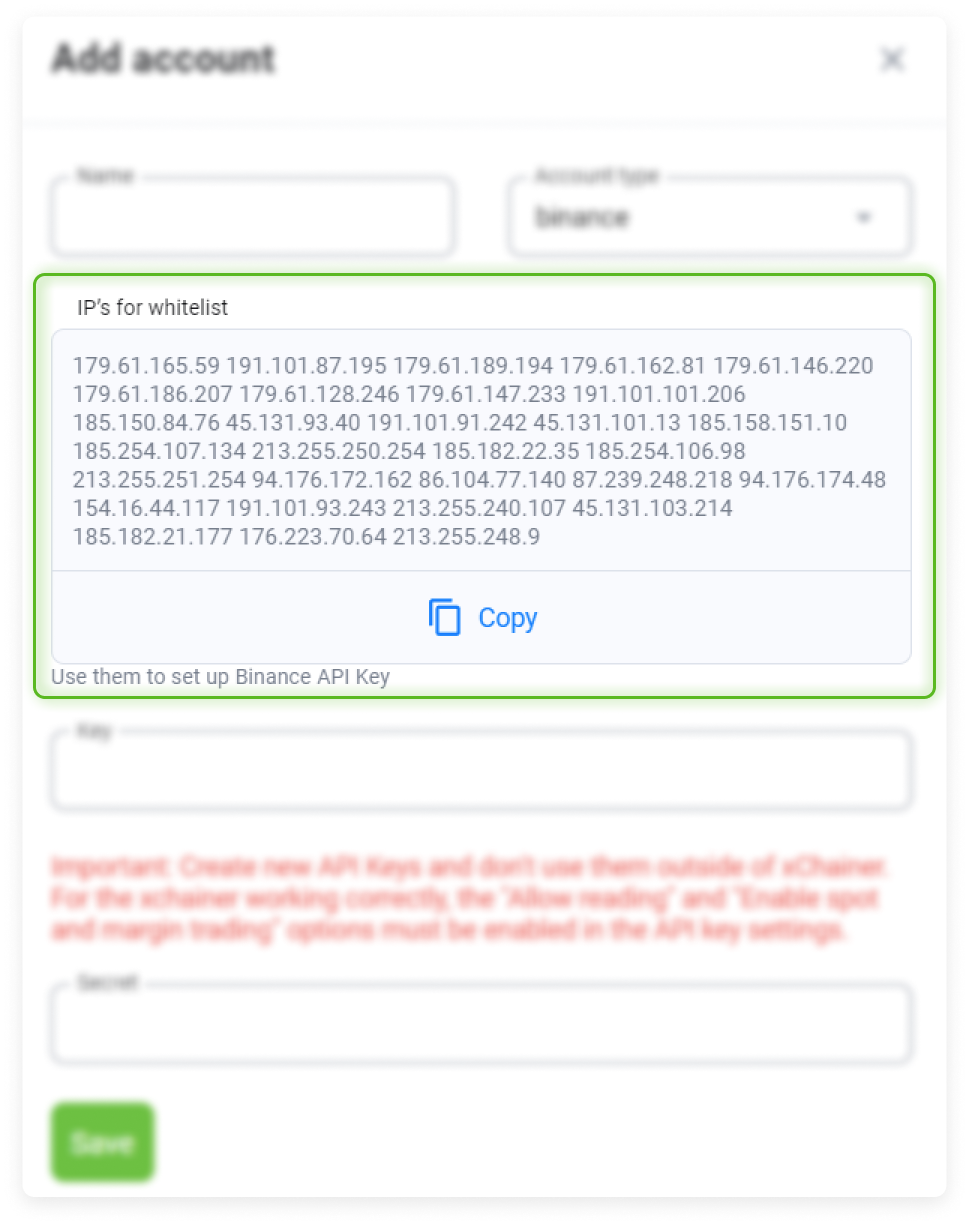
It should look something like this in XChainer itself.
Click Confirm to save all changes.

Click Save to save your changes.
The two-factor authentication (2FA) form will appear.
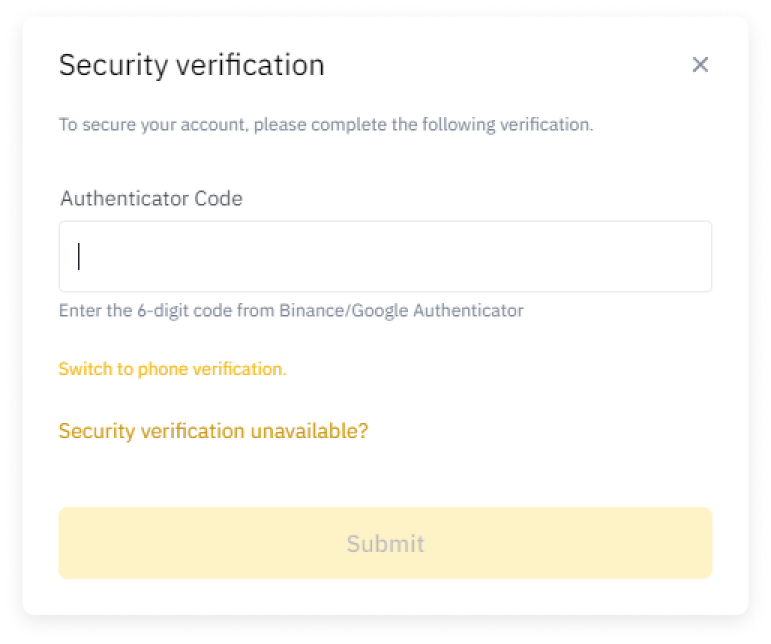
After you enter the six digits from the 2FA mobile application, the API key will be activated.
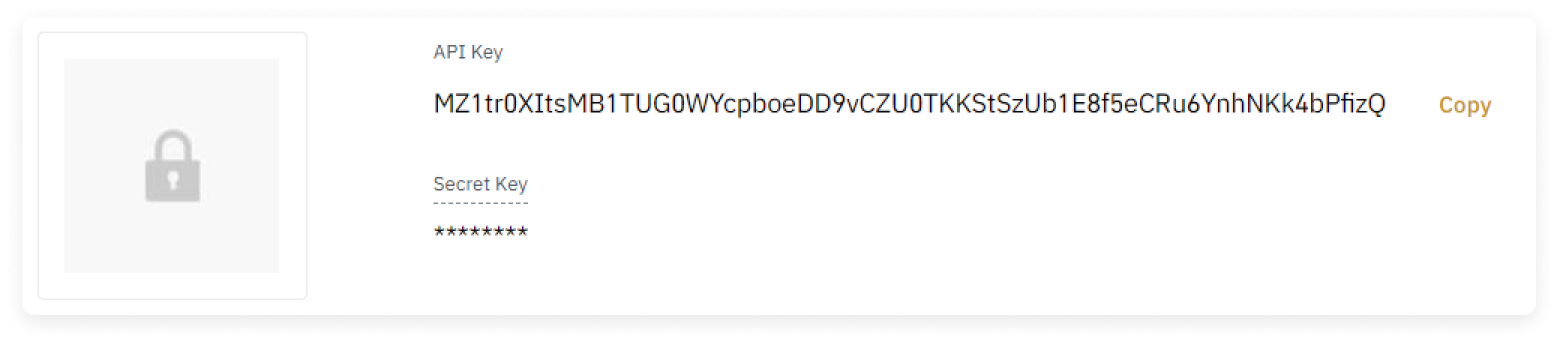
Please note: You must immediately copy the keys (API key and Secret key).
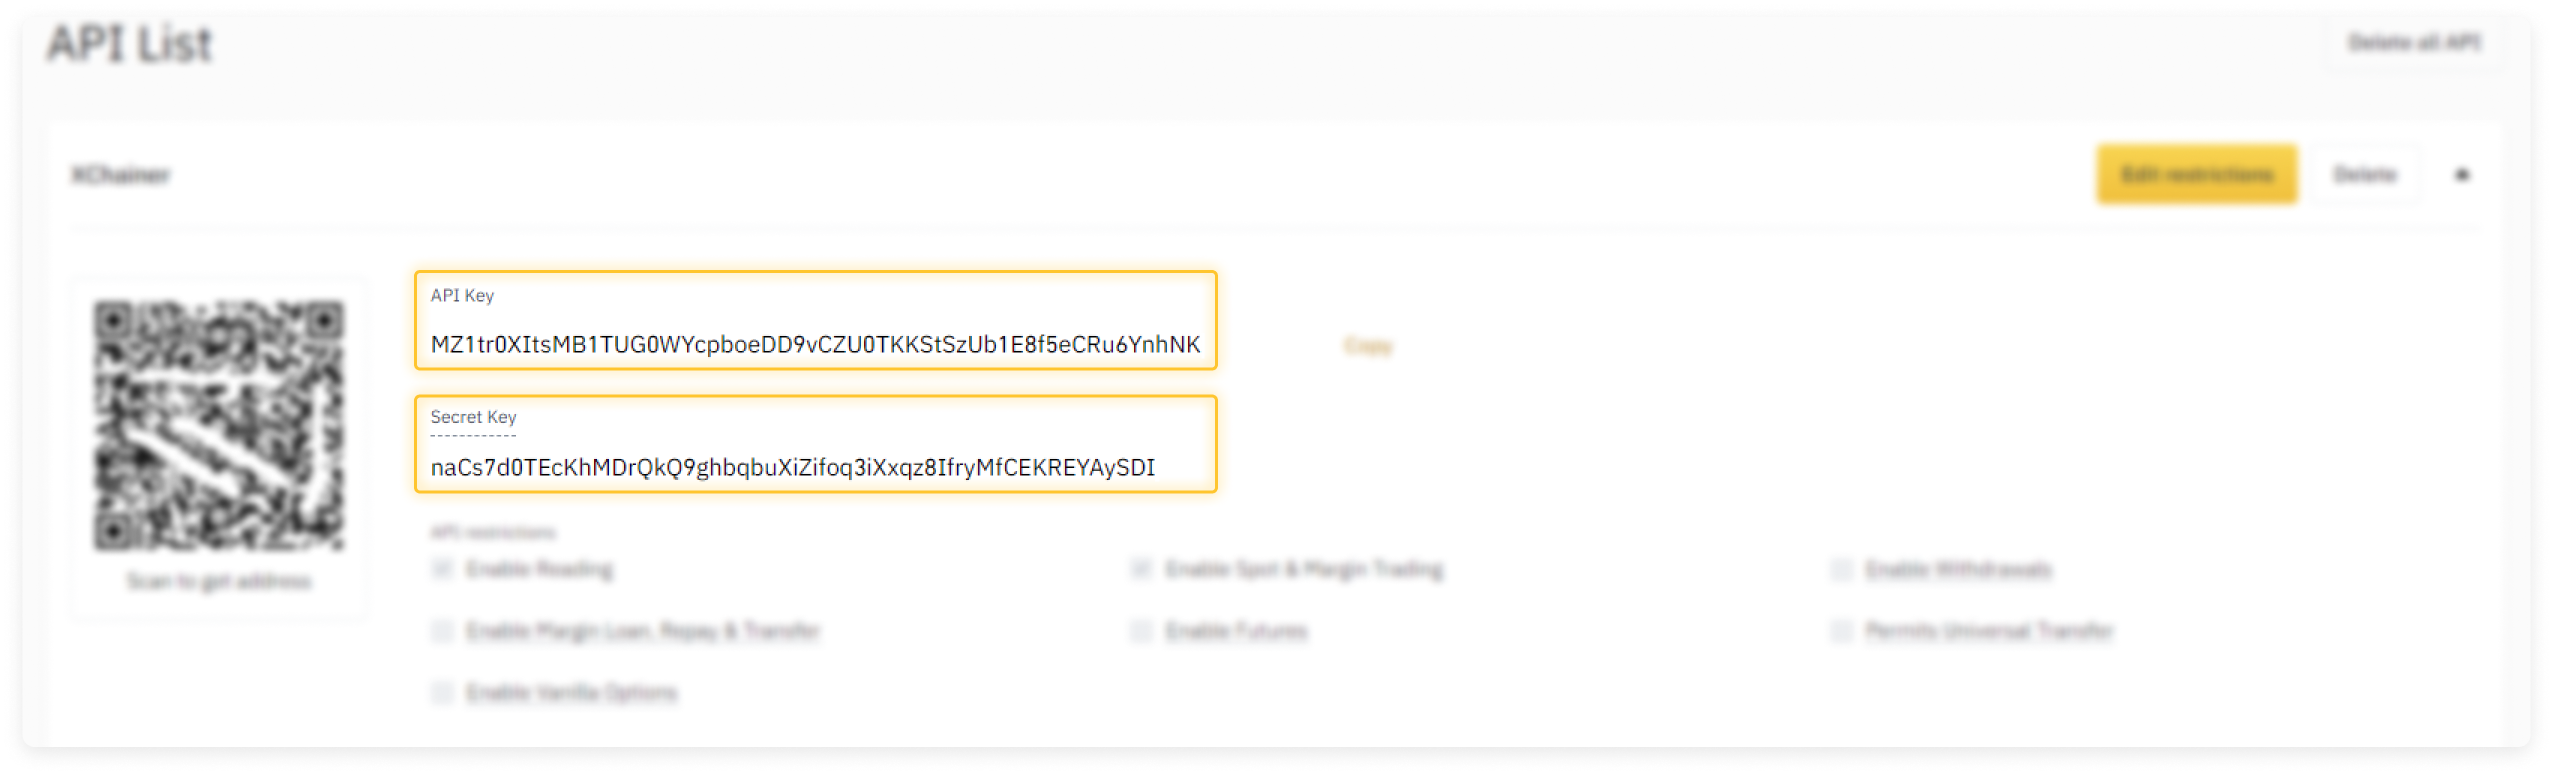
Paste them into the appropriate Key and Secret forms and click Save.
Click Save to save your changes.

When you reload the API Management page, the Secret key will be hidden by asterisks.
If you lose it, you will have to perform a procedure to create new keys.